
Fill in the form below with your contact details and a short note, and we will prepare a quote for Fireplace Rebuild Port Moody
Plenty of people around Port Moody inherit a fireplace or wood stove along with a house and have no idea when anyone last looked at it. Typing “fireplace rebuild” into a search bar is a sensible first move. The questions below are the ones homeowners raise most often about fireplace rebuild, answered in plain language and with the reasoning behind each answer, so you can judge what applies to your home and what does not.

Creosote is the dark residue that forms when wood smoke cools and condenses inside a chimney or stovepipe, and it matters because it burns. It starts as dry, flaky soot, can thicken into a crunchy or sticky tar and at its worst becomes a hard, shiny glaze. A thick layer can ignite and cause a chimney fire. Creosote builds faster when wood is damp, when fires smolder with too little air and when the flue stays cold, as it often does in a chimney on an outside wall. Burning dry wood with a lively flame and having the flue swept when buildup appears keeps it under control.
Yes, within limits set by the chimney. An opening that is too large for its flue often smokes, and a rebuild is a chance to make it smaller or shallower so the fire draws better. The face can change too, from brick to stone or tile, as long as heat-rated materials are used near the opening and the hearth in front still protects the floor. What cannot change freely is the relationship between the opening and the flue size, since that balance controls the draft. A technician can explain how much room there is for design changes.
The signs that matter most are small physical changes: a brick that wobbles, crumbs of mortar on the hearth, a damper that needs a shove or a stain where none used to be. When homeowners call about one of those, we usually find it connects to something larger, such as rain entering through a cracked crown or heat slowly eating at the joints of the back wall. Gaps in the firebox matter most, since they can let heat reach the framing behind the masonry. Catching these early keeps the fix to a patch rather than a rebuild.
Cracked fireplace tiles are usually repaired by removing the damaged tile and grout, preparing the base and setting a new tile with heat-resistant adhesive and grout. Tiles crack from repeated heating and cooling, a hearth that has settled, a weak base underneath or something heavy dropped on them. Hearth tiles in front of the opening protect the floor from embers and heat, so cracks there deserve prompt attention. Matching older tiles can be tricky; when an exact match is not available, some homeowners retile the whole hearth or surround. Finding the cause first helps the new tile last.
A sweep cleans the whole smoke path, and we work from the fire upward and from the room outward. First the hearth and nearby floor are covered, then a high-suction vacuum goes on, keeping the room under slight negative pressure so soot is drawn toward our equipment instead of drifting out. Brushing comes after that: rotary or wire brushes sized to the flue, pushed through in sections until the walls are clear. The smoke shelf behind the damper is where loose debris piles up, so it gets cleaned by hand. We finish by checking the damper seal, looking at the cap and showing the homeowner photos of anything worth discussing.

Most families stay at home, with some planning around the work area. The room with the fireplace is usually closed off with plastic sheeting, and the crew comes and goes through the nearest door. Expect noise from chiseling and cutting during working hours, plus some dust despite the precautions. Cutting is often done outside to keep the house cleaner. Keep pets and children away from the area, and plan not to use that room while the work and the cure time are underway. Ask the company for a day-by-day outline of the “fireplace rebuild” project before it starts.
It depends on the chimney, and the decision is made on the day. Plenty of flues are swept from the firebox upward with rods, which keeps us off delicate roofing. We still like to see the top, because the cap, the crown and the last few feet of flue are where weather and animals cause trouble. On steep or slippery roofs, we may set a ladder at the eave and use a camera instead of walking the surface. Rain, ice and strong wind mean the roof portion waits for a better day. Either way, you should hear what the top looks like, not just the bottom.
It varies with the material, and we give every customer a specific answer before we leave. Mortar holds moisture after it is laid, and a roaring fire drives that water out too fast, which can crack fresh joints or pop new firebrick. That is why we suggest waiting through the full cure period and then building a few small, short fires to bring everything up to temperature gradually. Stove repairs follow the same idea on a smaller scale: a new rope gasket, for example, settles in over a couple of gentle burns. Caps, screens and dampers can be used immediately.
Ask for evidence and a written scope, and get a second opinion when the work is large, such as a new liner, major masonry or chimney work, or replacing a stove. The first company should provide photos or camera footage, a plain description of the problem and a list of what will be removed, rebuilt or replaced. A clear quote names the materials, explains how the cause of the damage will be addressed and states what is not included. If two companies disagree, ask each to explain its reasoning; the one that can show you the problem usually deserves more weight.

Parts of a home that have been in place for decades, from chimneys to ductwork, often hide earlier fixes and pieces that are no longer made. We check what is really there first, then talk through realistic options with you. Ask about fireplace rebuild for your setup in Port Moody.
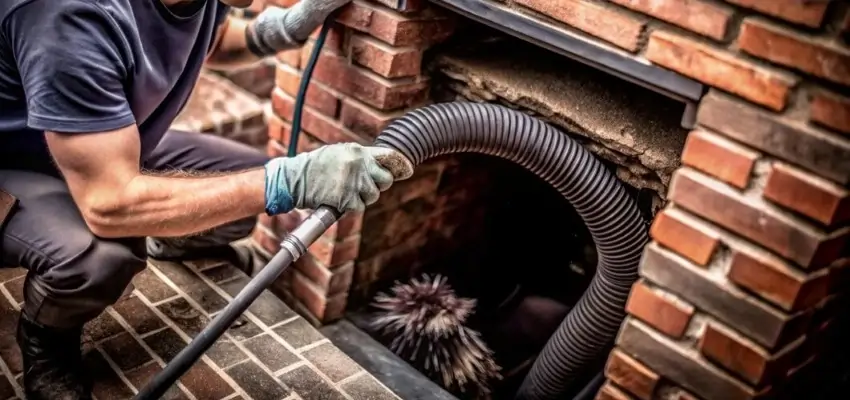
Clearer draft, cleaner flue: Chimney Cleaning for Port Moody homes
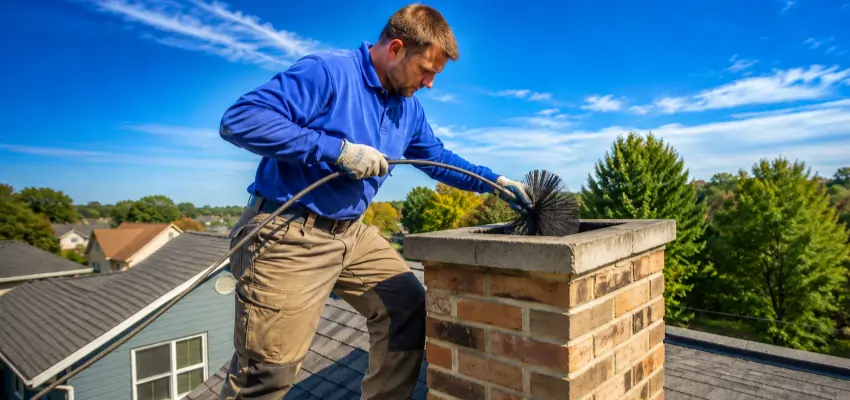
Due for Chimney Sweep service? Book ahead in Port Moody
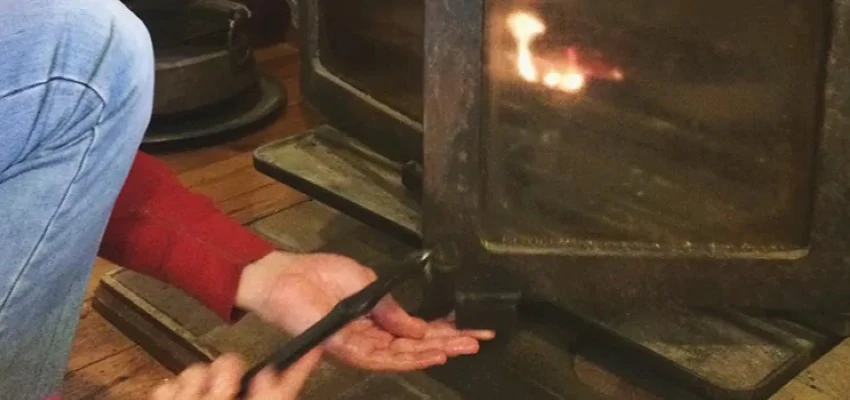
Complete Chimney Sweep Services for Port Moody homeowners
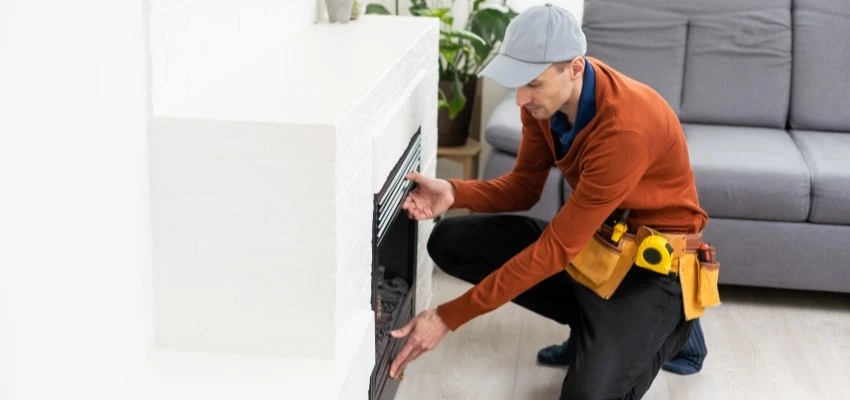
Smoke backing into the room? Call Fireplace Experts in Port Moody
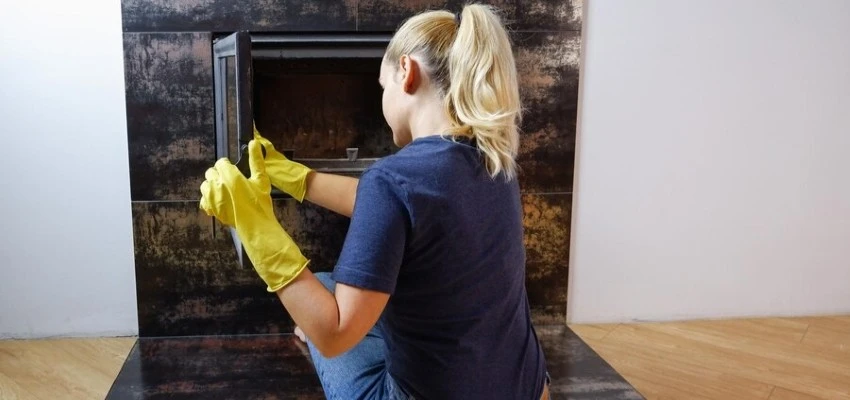
Control area vacuumed during Gas Fireplace Cleaning
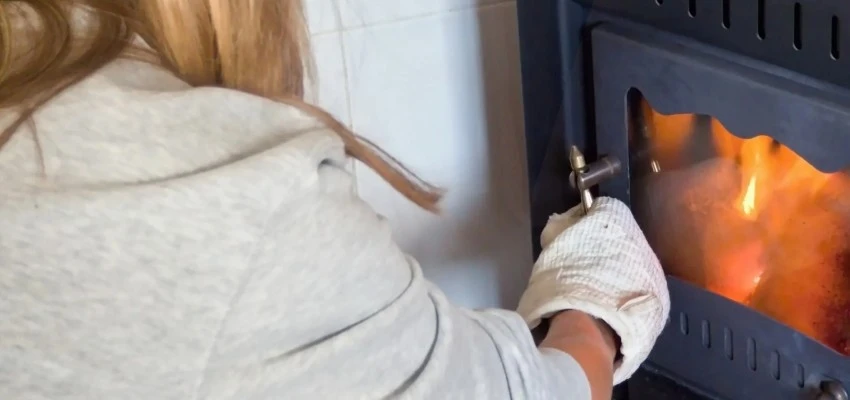
A record of every Gas Fireplace Maintenance visit

